I just love the crochet inspiration and ideas we see on Instagram. A while ago I saw this post on Kathryn Vercillo’s feed @kvercillo telling us about Granny Square Day 2015 that was started by Susan who decided that the month of August needed another Holiday. Susan asked crochet friends to post pictures of their granny squares on Instagram on the 15th of August. She then makes collages of every one’s grannies and have it printed on fabric, mugs and phone covers. You can see all of these on her Instagram feed @suregal27

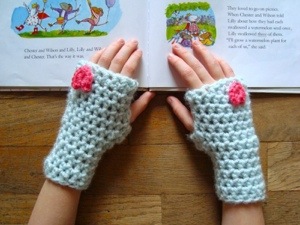
I immediately abandoned my lacy crochet mittens that I was struggling with, and started a granny square. BUT!!! Could not stop at two! Just went on and on! Then I wondered? What shall I do with all these grannies??? Seeing that I was busy with other crochet mittens before the granny “attack”, I thought, … what if you crochet two grannies together and make fingerless gloves? And that’s exactly what I did. First the small ones for Anya. Then larger ones for myself.
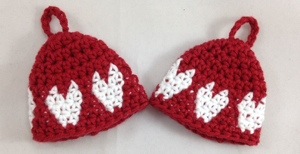
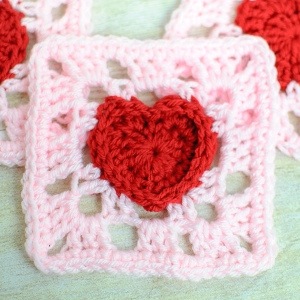
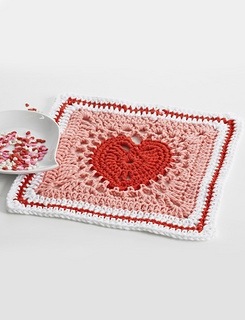
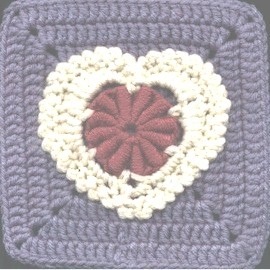
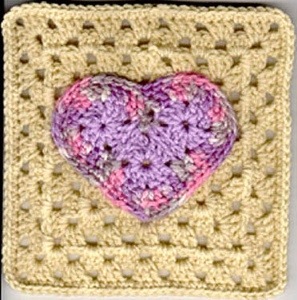
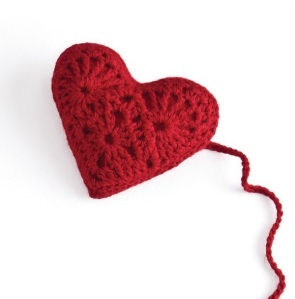
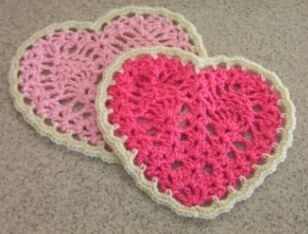
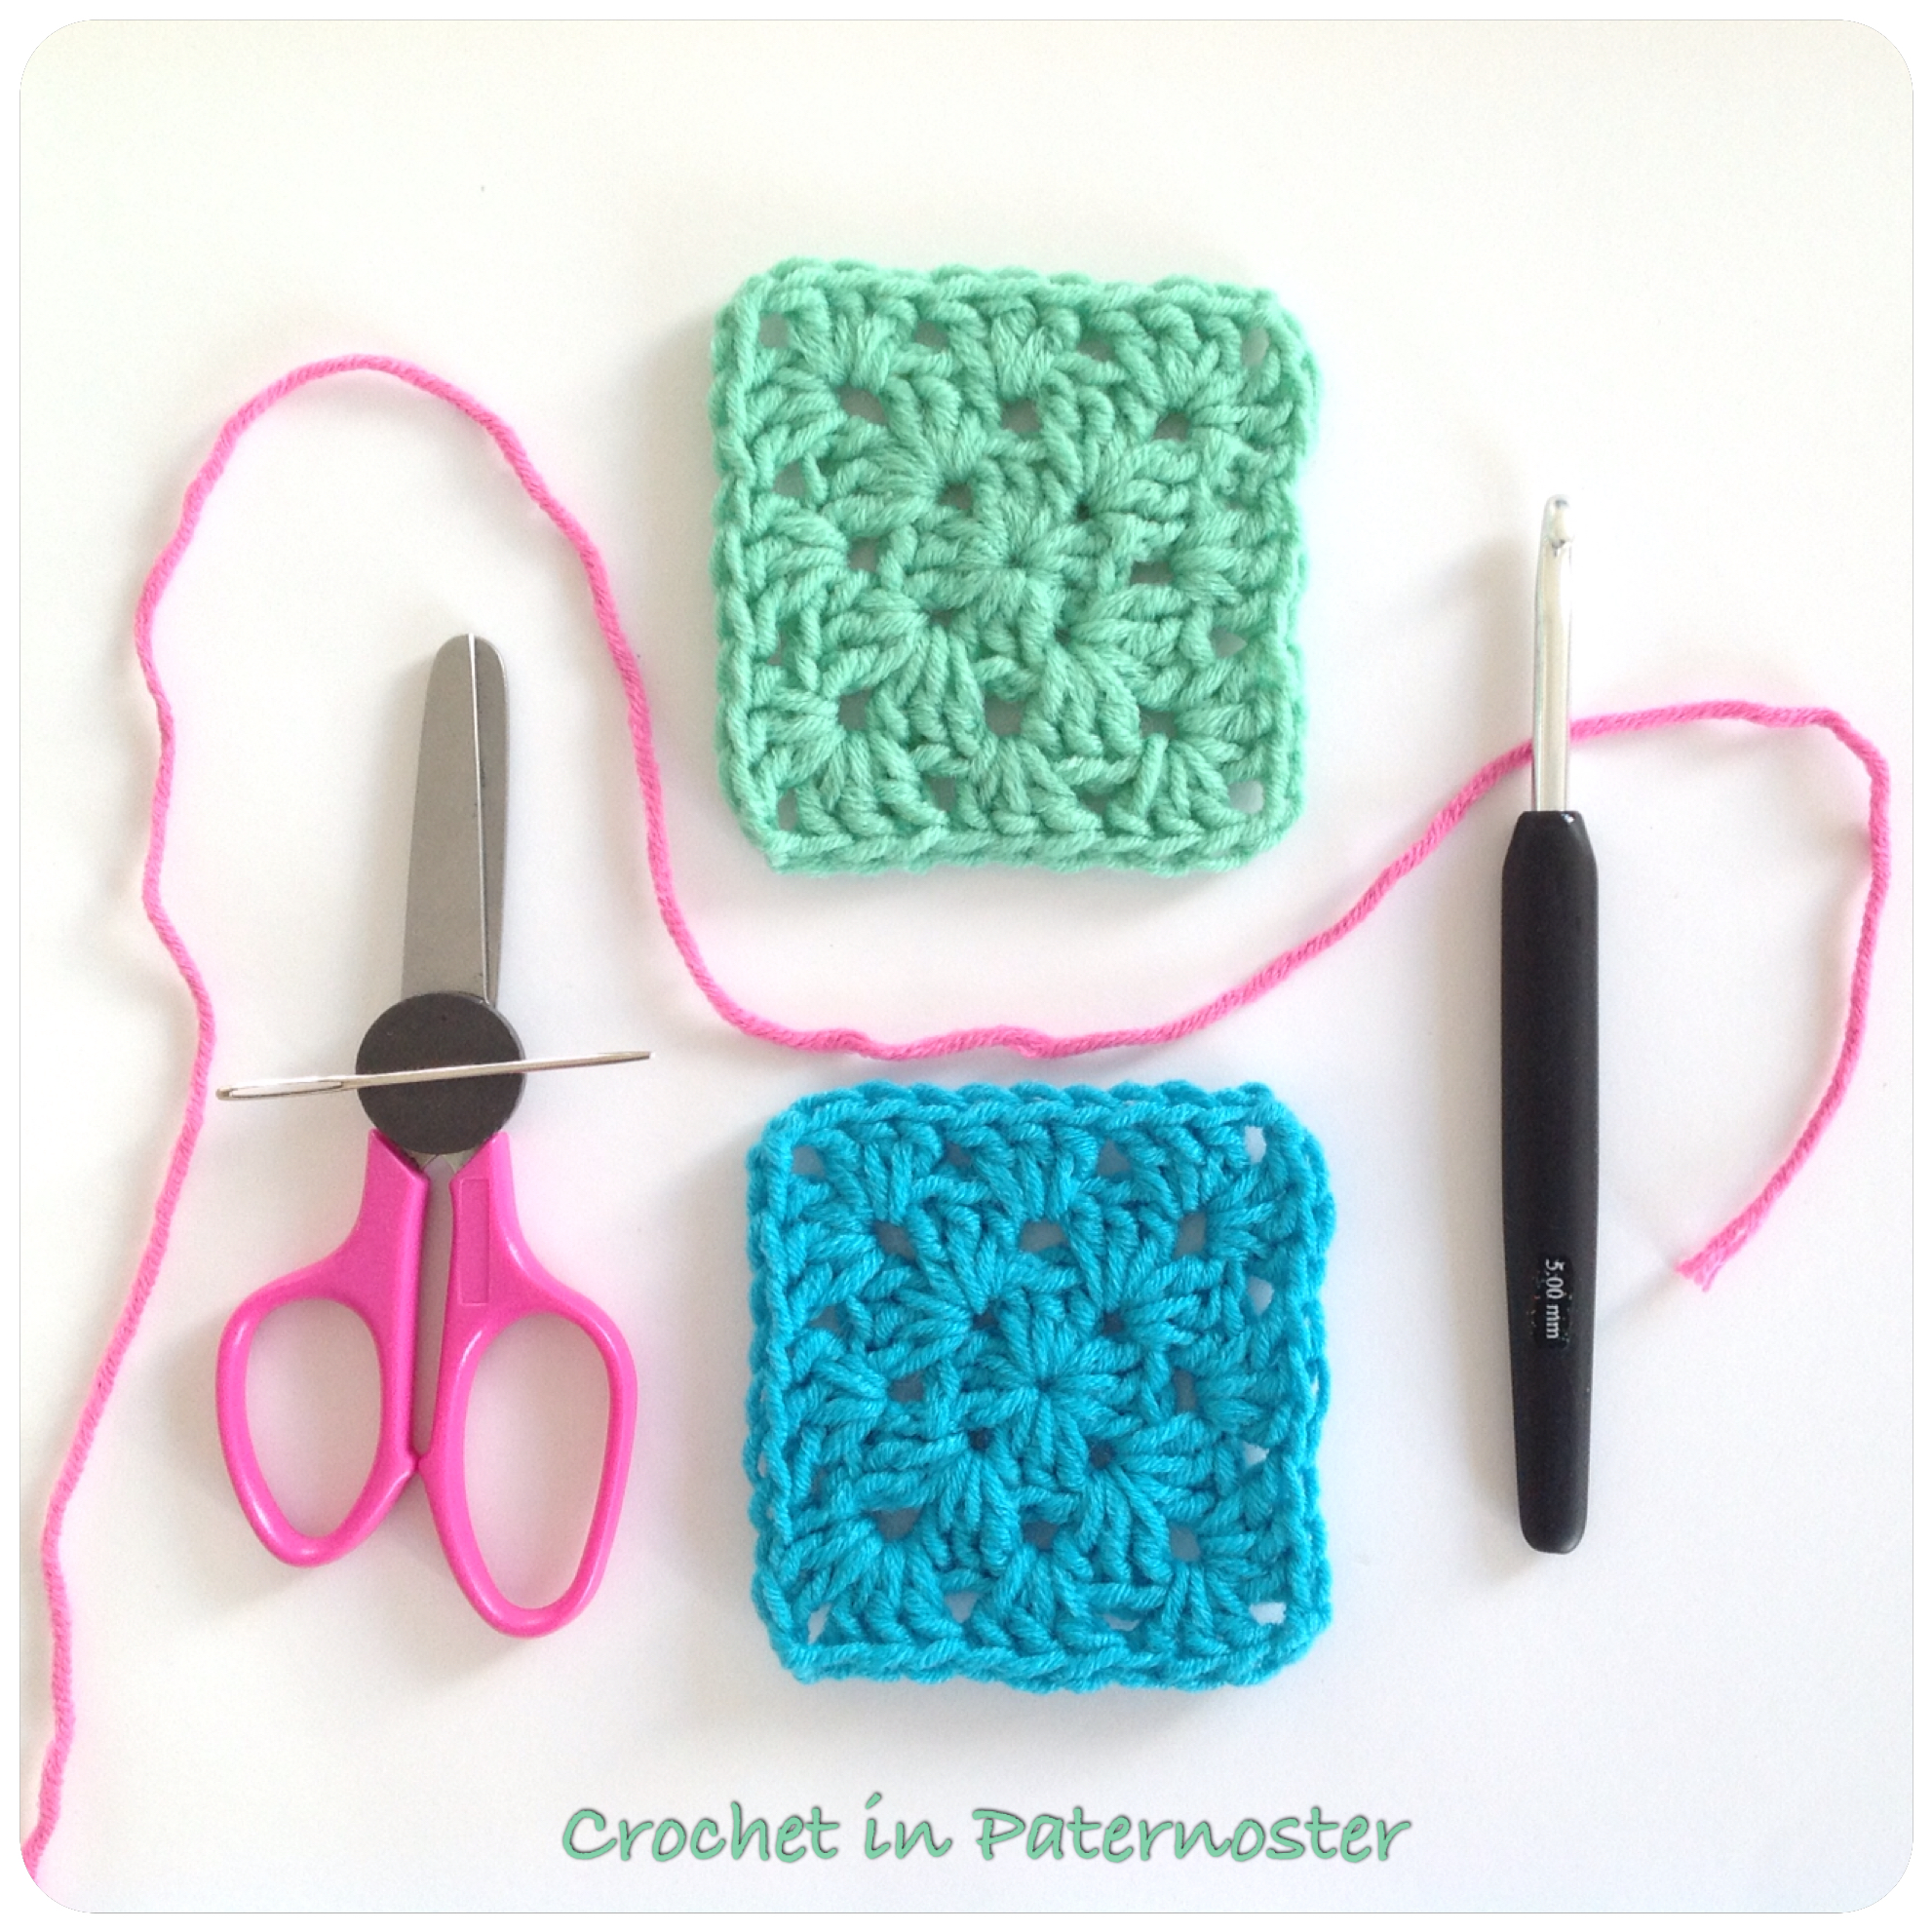
These are the first two granny squares that I started with, and which I posted on My Instagram with the hash tag #grannysquareday2015

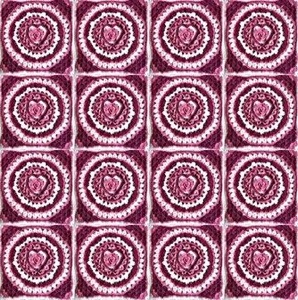
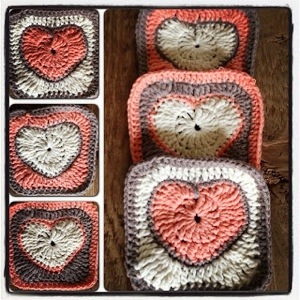
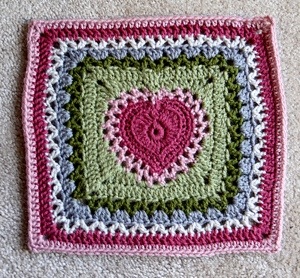
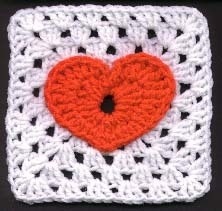
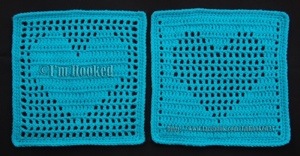
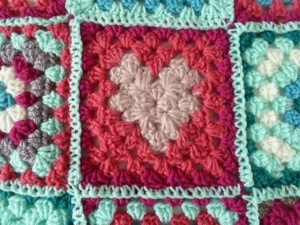
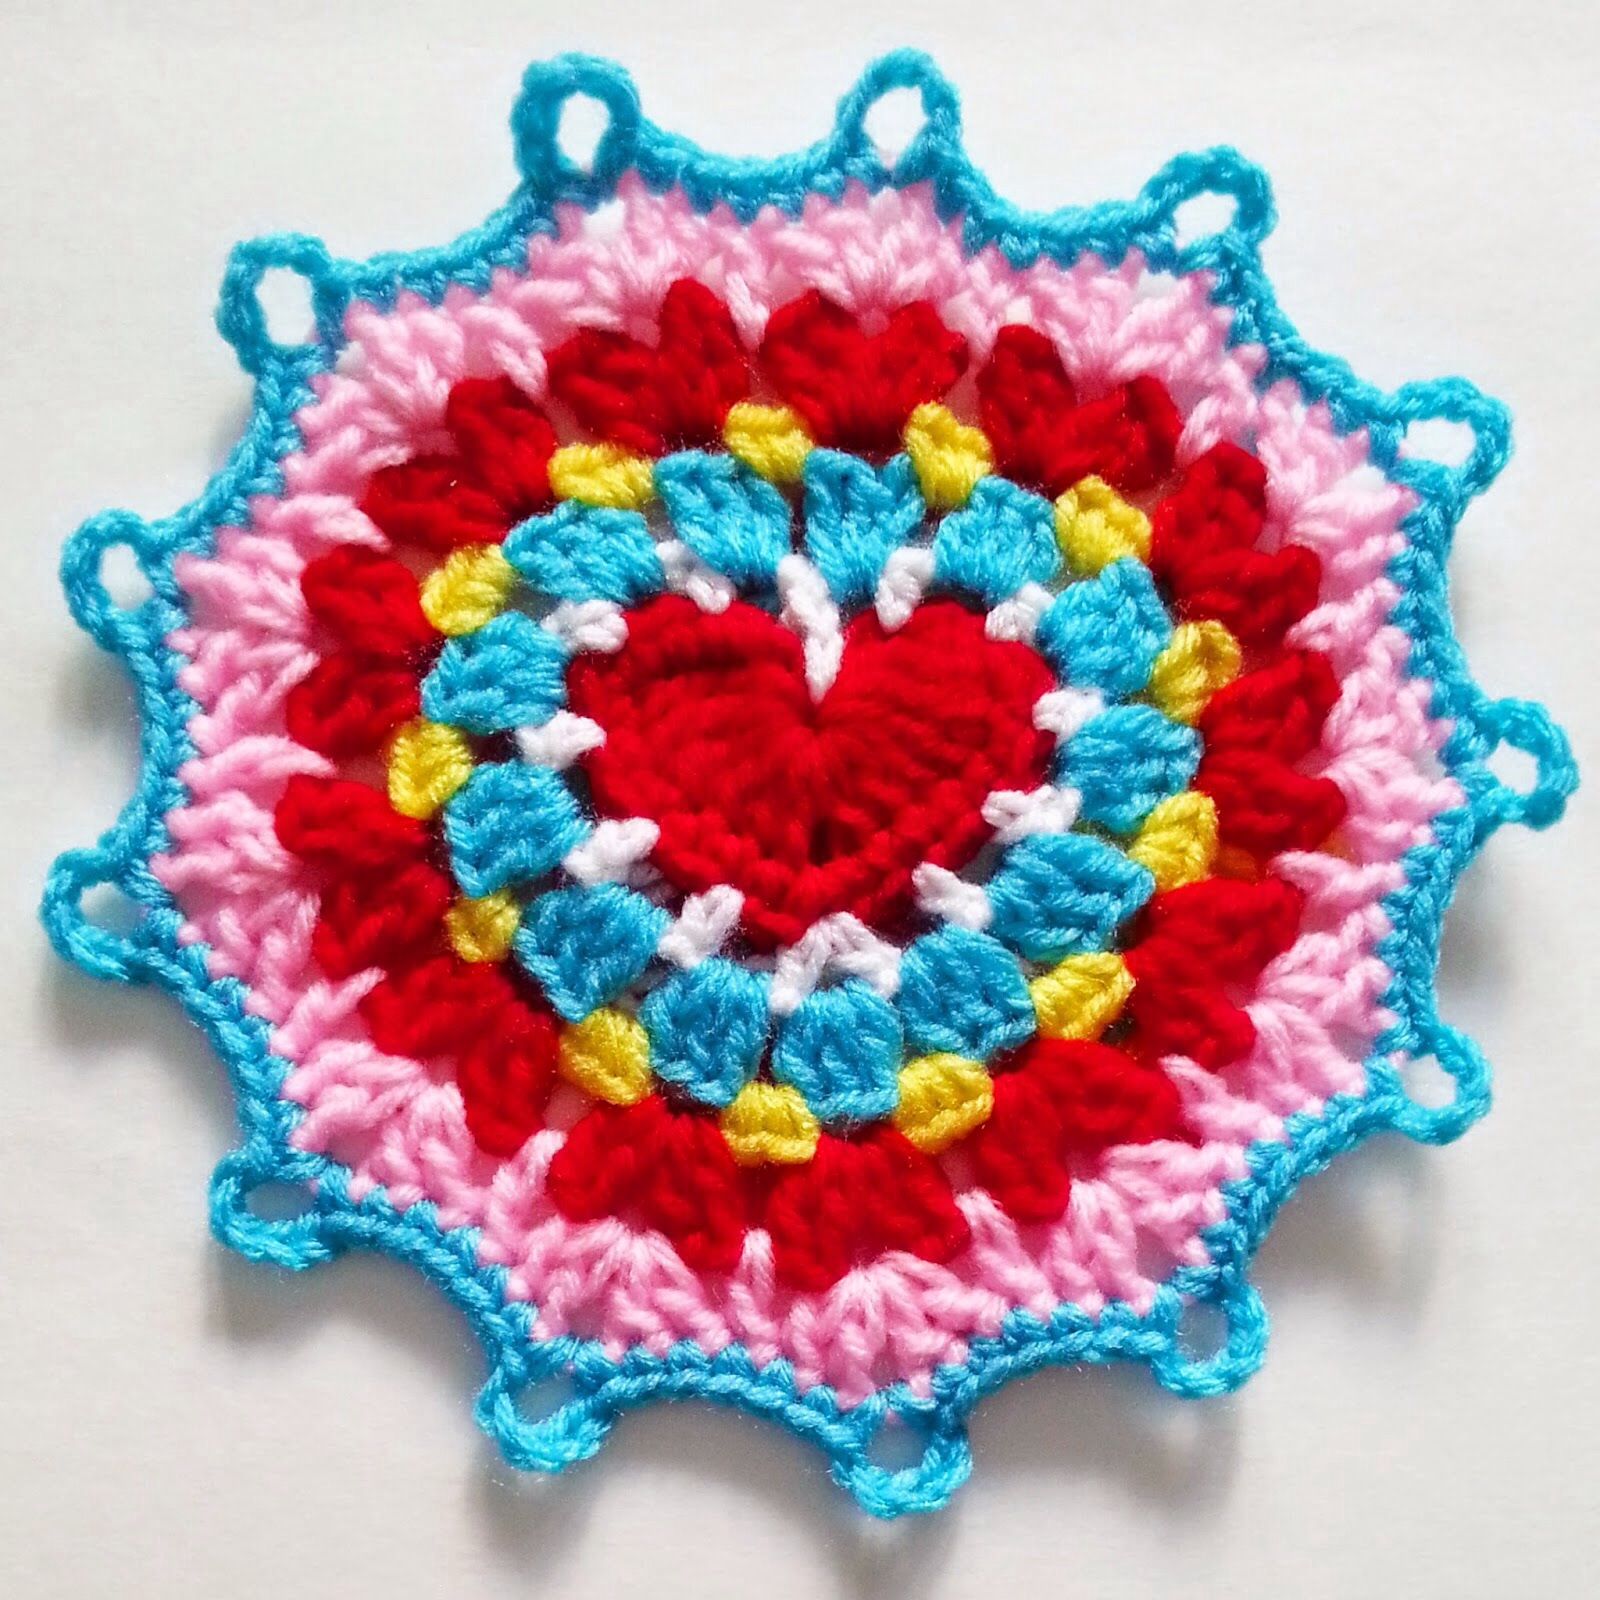
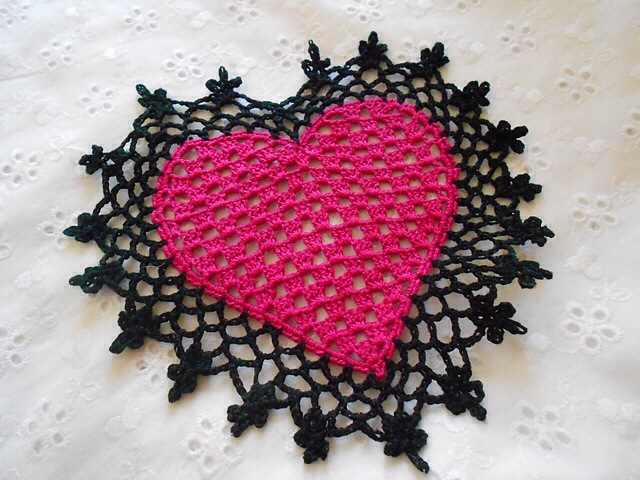
And the rest of my grannies! ….

I want to show you how I made the smaller ones for Anya. She is 5 years old and her hand width is 7 cm.
I use US terms. Here is a handy little conversion chart if you use UK terms . For my fellow South Africans who crochet in Afrikaans, try this conversion chart for US and Afrikaans terms.
You need to know how to do the following:
sc = single crochet
hdc = half double crochet
V-stitch = Normally a V-stitch is dc, ch 2, dc in the same stitch. The one I use here for the wrist part of the glove is:
hdc, ch 1, hdc. That is just my lazy way of getting a ribbing effect/look.
I close (end) my granny squares with a false stitch . Dedri has a nice tutorial for that!
Materials:
- 2 x granny squares with 3 rounds each. ( I made mine with Elle Gold Double Knit and a 5 mm hook )
- scissors
- yarn needle
My granny squares does not have any chains in between the granny clusters. And I have 2 chains in my corners.
- You are going to join two squares with Dedri’s flat zipper method , working in the inside loops (back loops)
- After joining the 2 squares: ch 1 and then sc in each stitch (working to your left) . Stop just before your 2 ch corner.
- Fold your grannies to form a tube. You are now going to close the tube with your next sc.
- Insert your hook through the 1st corner chains of both grannies.

5. Carry on with sc all around the top.
6. + 7. Close with ss into first sc
8. ch 3 (counts as 1 hdc + 1 ch), hdc = first hdc V-stitch made.

9. Into every 2nd stitch: hdc v-stitch all around.
I ended with 10 V-stitches in one round. Yours is going to depend on the method you used to make your granny square.
Close your first V-stitch round with a sc into the first V you made.
Crochet 2 more V-stitch rounds. Cut your yarn, end with a false stitch and work away the yarn end.
Also work away the end where you started to join your two squares.
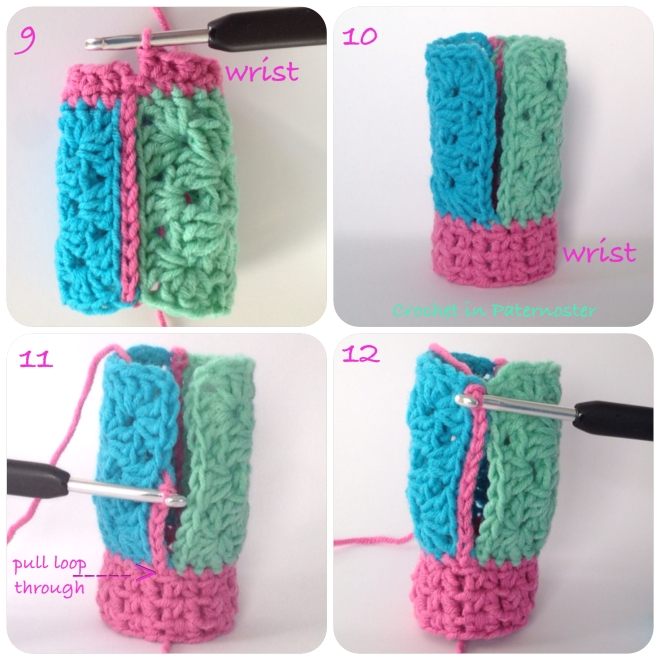
10. You are now done with the top part of the glove. That is the part that goes over your wrist.
11. Now you are going to join the side where the thumb opening is going to be.
With some new yarn (I used pink) pull a loop through to the front of your work, leaving the tail on the inside. Make 6 slip stitches into the back loops for the “thumb openings”.
12. Then join the last 3 dc’s and one chain with the flat zipper method.
13. After your last flat zip stitch:
ch 1, and work single crochet stitches (towards the left)
14. Continue with sc all around.
15. Close with a ss into your 1st ch 1.
16. You can now cut your yarn. Leave a tail about three times the length of the glove, because you are going to use it for your last few slip and zip stitches.

17. You are now working on the other side of your thumb opening.
Flat zip through the same 4 stitches. (that is through the same stitches in step 12.)
18. Slip stitch into the back loops of the last 7 stitches on your square until you reach the wrist part of the glove.
Pull your yarn through after your last ss
Make a false stitch and work away the end.
19. And you’re done! Yay!

Anya loves her fingerless gloves! They came in quite handy for the last days of winter.
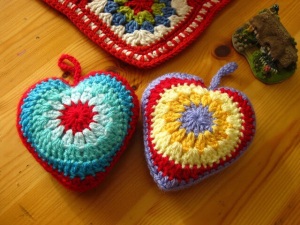
I made a pair for myself as well. For the adult version I used granny squares with four rounds; five rounds of the V-stitches and I appliqued an Anya heart to my one glove. My hand width is 8 cm.

Thank you for testing the pattern Anne-Marie. xxx She made a pair for herself and her little girl. She used a chunky yarn and a 5 mm hook. Because of the thicker yarn a granny with 2 rounds was big enough for the smaller glove. For the bigger glove she used a 3 round granny.

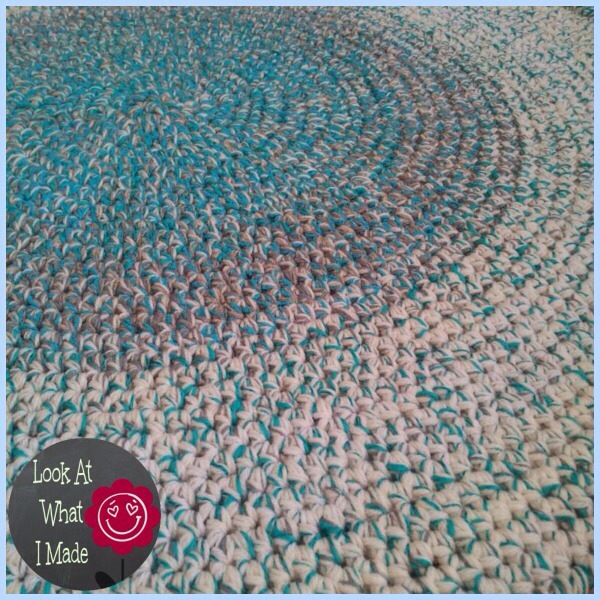
And then I made some more granny square gloves using variegated yarn. With them I did not use V-stitches for the wrist parts and also no slip or zip stitches. Much Much Easier! Do you want the pattern for them too?

Please do show us on our Facebook page: Crochet in Paternoster if you make these! If you have any queries you can inbox us there as well.
PS. This is how I measured the size of our hands.