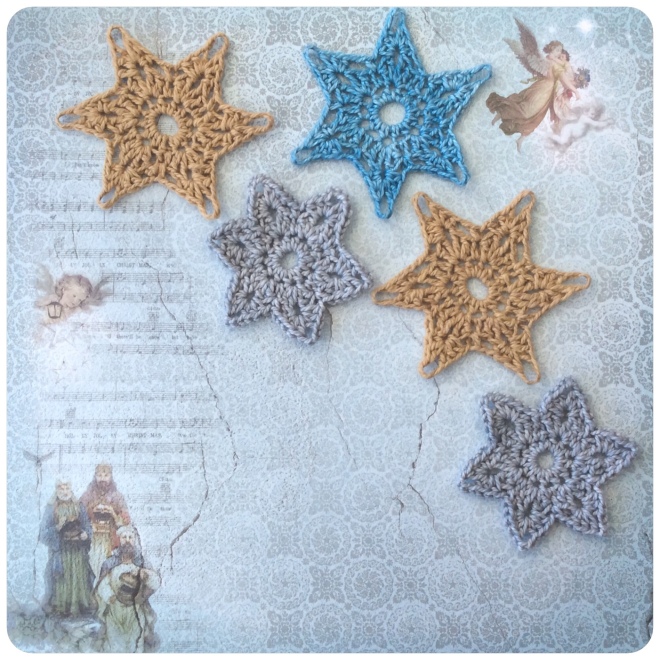
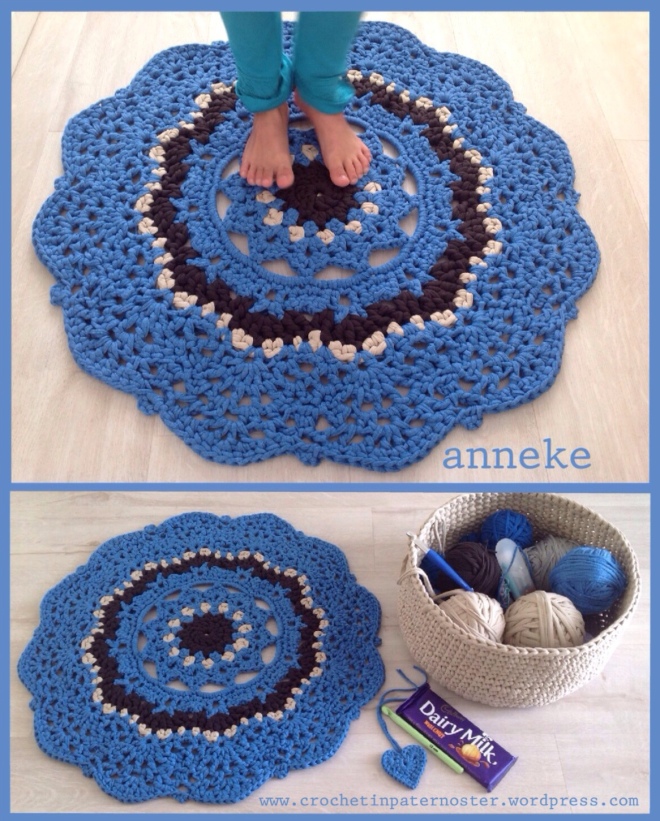
Net gou ‘n vinnige inskrywing met ‘n skakel na hierdie mooi blok se patroon. Ek het ‘n bestelling gehad vir ‘n “granny square” mat. En dit net nadat ek DRIE blou granny square matte moes hekel vir iemand. Ek was net so klein bietjie keelvol vir ‘n gewone granny square en vir die alewige gesukkel om die 6 blokke so netjies moontlik, as wat die T jou toelaat, aanmekaar en plat te kry. Ek wou iets nuuts, maklik en vinnig doen en het die internet deursoek vir ‘n anderste ouma blok. Wel ‘n paar gevind, maar nie een wat skreeu: “Pick me! Pick me!” nie. Toe gaan ek maar deur my hekelboeke en deur al die gestoorde patrone op my iPad. En toe! Daar praat hierdie patroon met my. Iets heel anders. Mooi kant effek. En die heel belangrikste, jy kan die blokke aanmekaarhekel met jou laaste rondte! Yay! Fanwolletasties! Jy moet weet dit was ‘n hele paar dae se soek!
So hierdie keer hoef ek nie te gaan sit en my eie notas ontsyfer nie! Ek kan net vir julle die patroon skakel gee. Lekker!
Hier is hy:
Dis ‘n PDF ebook wat jy gratis aflaai by Red Heart Yarn se website.
Die elegant square patroon is op bladsy 11.
Daar is sommer ‘n paar ander oulike patrone en idees ook in die boek.
RedHeartMotifEBook
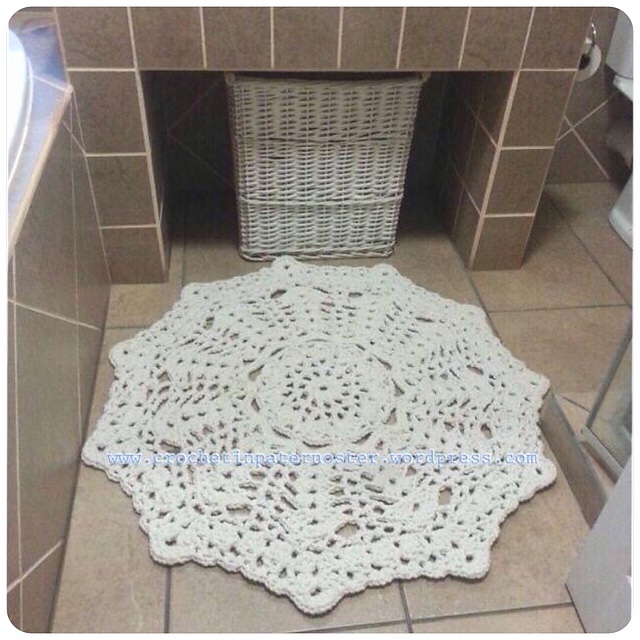
Just a quick blog entry with a website link to the beautiful square I used in this rectangular rug. I had an order for a doily rug and for a granny square rug. And just before that I finished an order for THREE granny squares rugs. I had absolutely NO motivation to start another one. So I browsed the internet for unusual granny square patterns and preferably one that would work with JAYG as it takes quite a bit of effort to join normal granny squares in a neat and flat way with the T-shirt yarn. I found a few on the internet, but not that one that screams : “Pick me! Pick me!”
Then I went through the crochet books in my bookcase and the patterns stored on my iPad. Found this one in a file screaming for my attention! It had this nice lacy look and its joined with JAYG! Yay! Fanyarntastic!
So this time around I don’t have to sit down and decipher my own notes! I can simply share the website link. Cool!
Here it is:
It is an free PDF ebook you can download from Red Heart Yarn’s website.
The Elegant Square pattern is on page 11.
The ebook has a few other nice patterns an ideas.
RedHeartMotifEBook


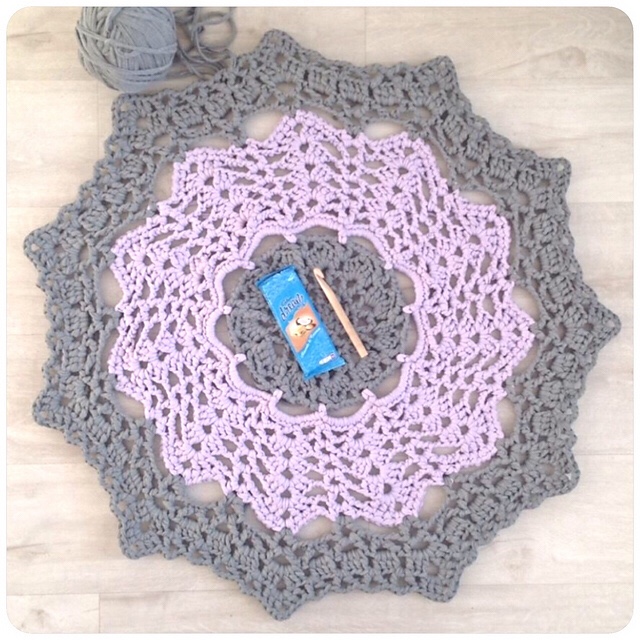
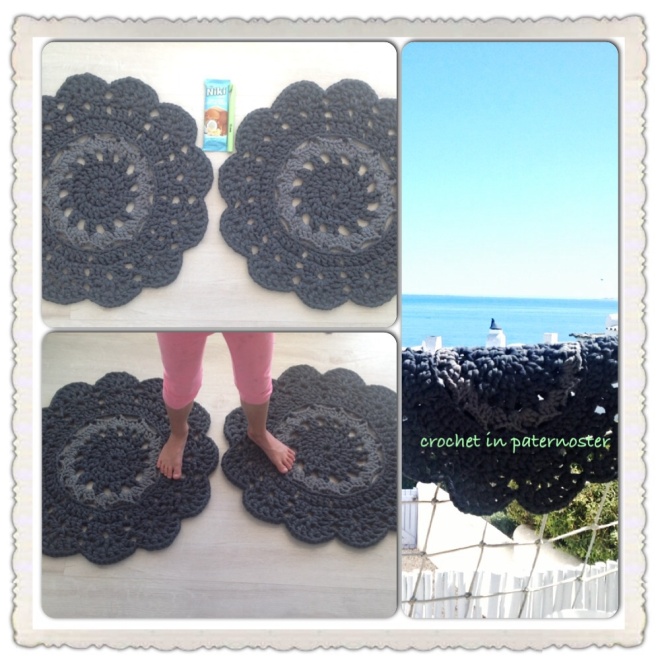
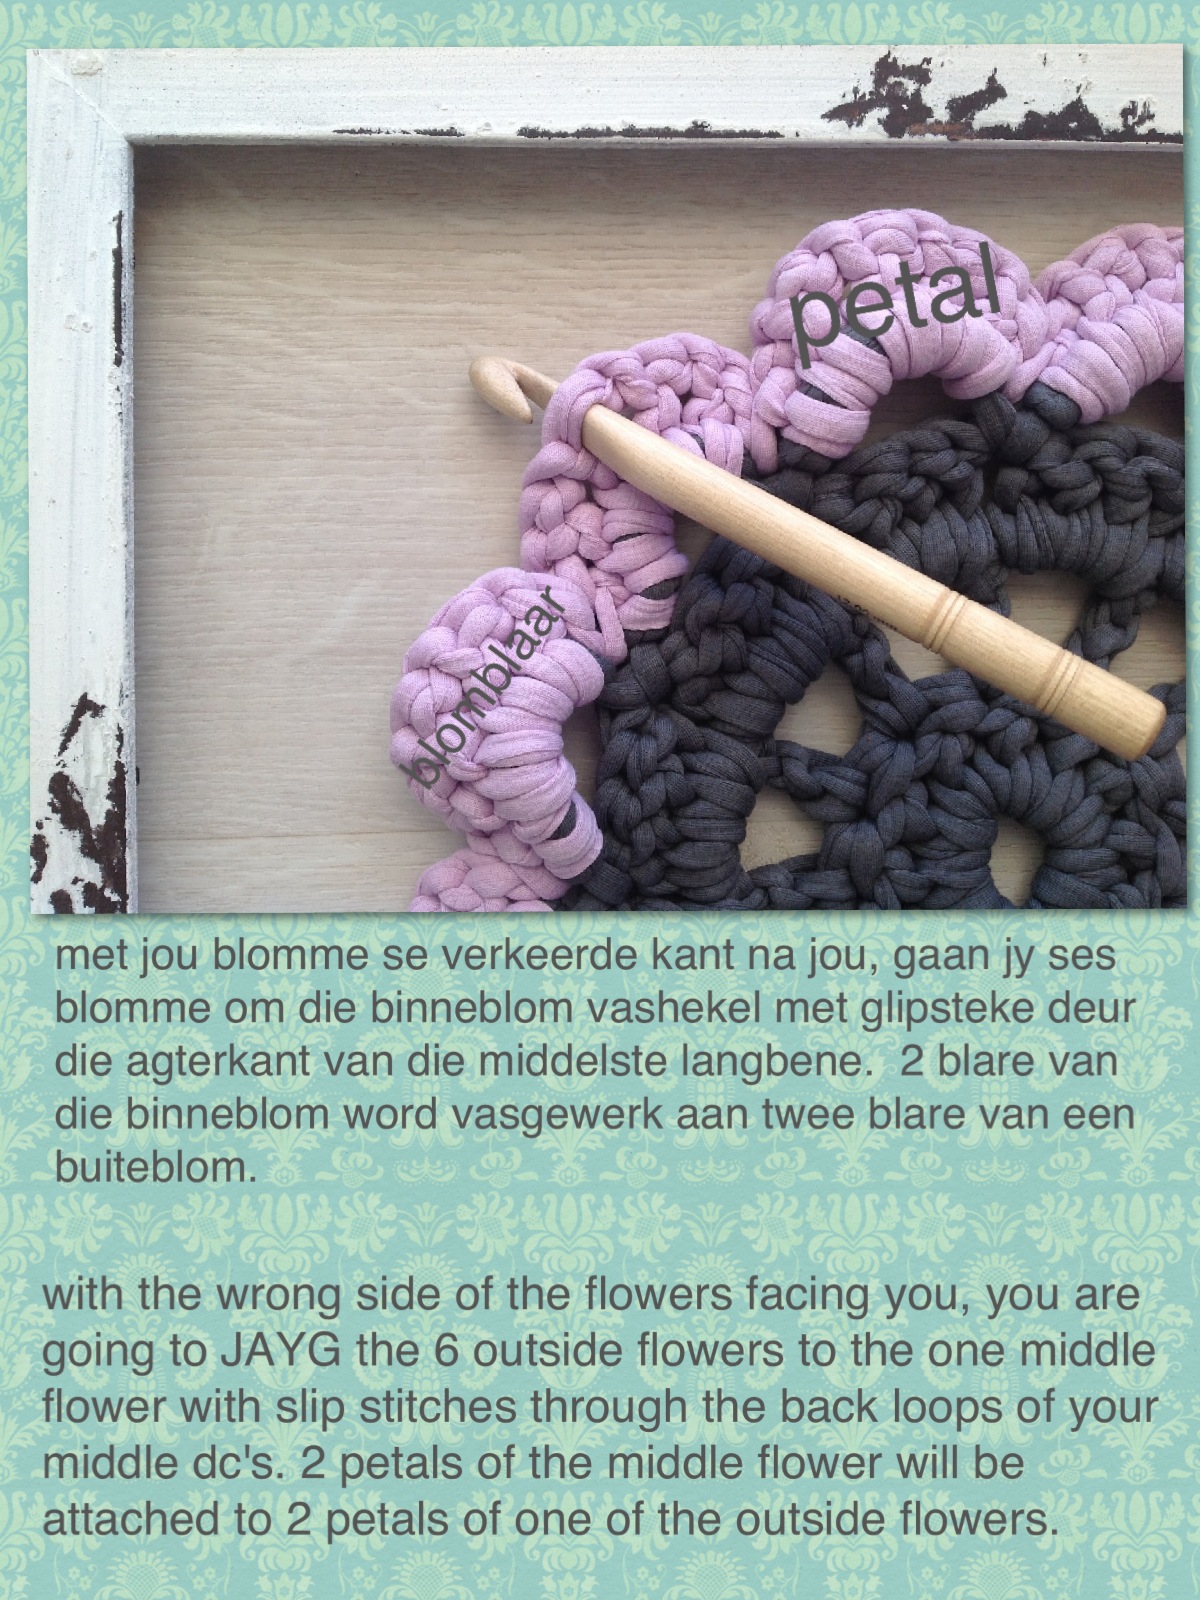
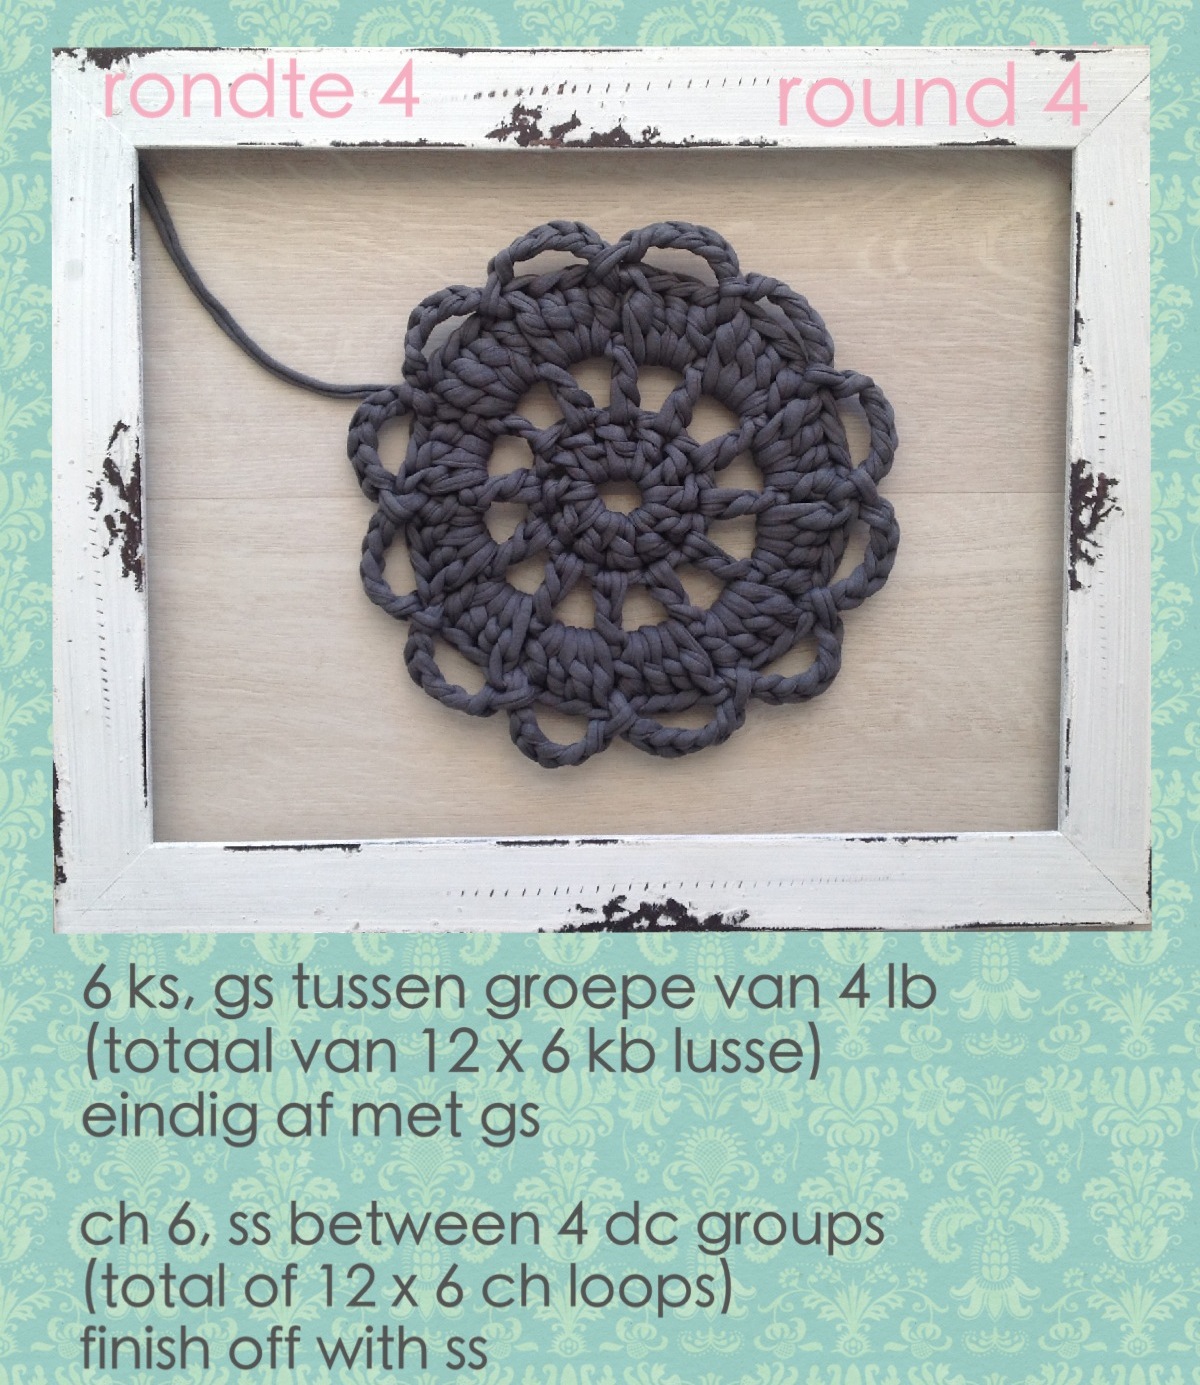
Die blok se hekel was baie maklik. Jy hekel al die blokke tot by rondte 5. Dan hekel jy een blok tot by rondte 6. En dan gaan jy JAYG met die ander blokke se rondte 6. Ek het so bietjie gesukkel met die aanmekaarhekel met rondte 6 en toe maar sommer so op my eie aangevoeter.
As jy nie weet hoe om te JAYG nie gaan Google bietjie en lees op. Ek belowe jou as jy een keer blokke so aanmekaar gehekel het gaan jy nie sommer weer die ou tydrowende manier van vaswerk gebruik nie.
It is an easy square to crochet. You crochet 6 blocks up to round 5. Then you crochet one square up to round 6. Then you JAYG the other 5 in their 6th rounds. I struggled a bit with their instructions for the JAYG and ended up just fudging mine together my own way.
If you are not familiar with JAYG, Google it. I can promise you, once you’ve used this method to join your squares you won’t go back to the arduous time consuming old way of doing it.


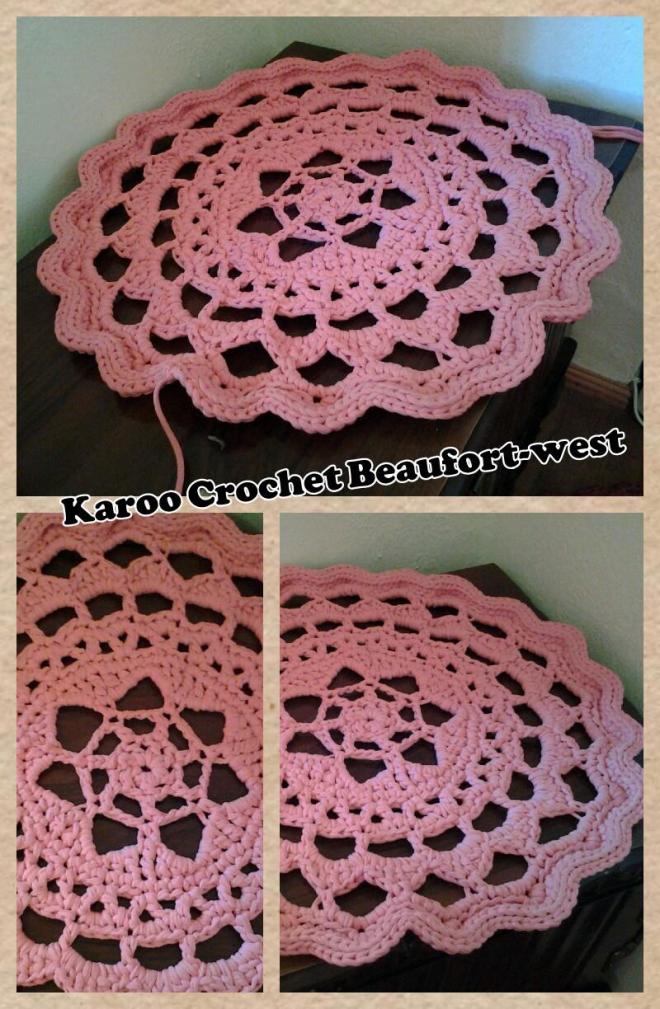
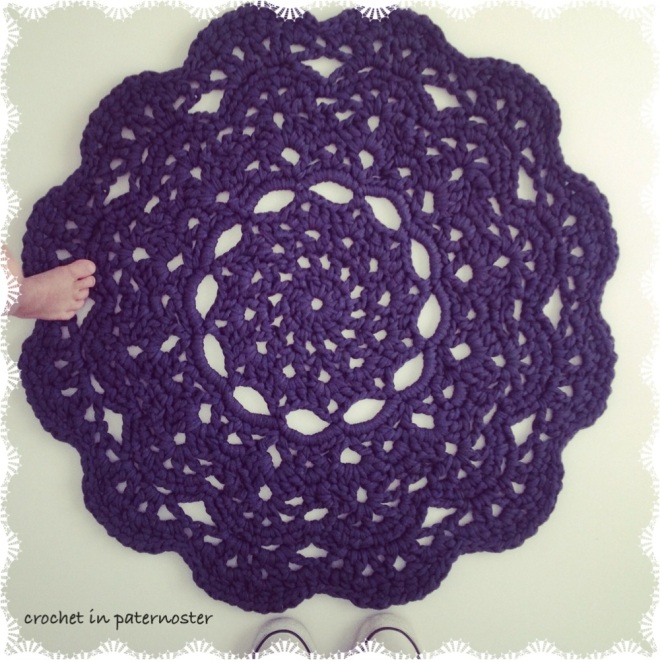
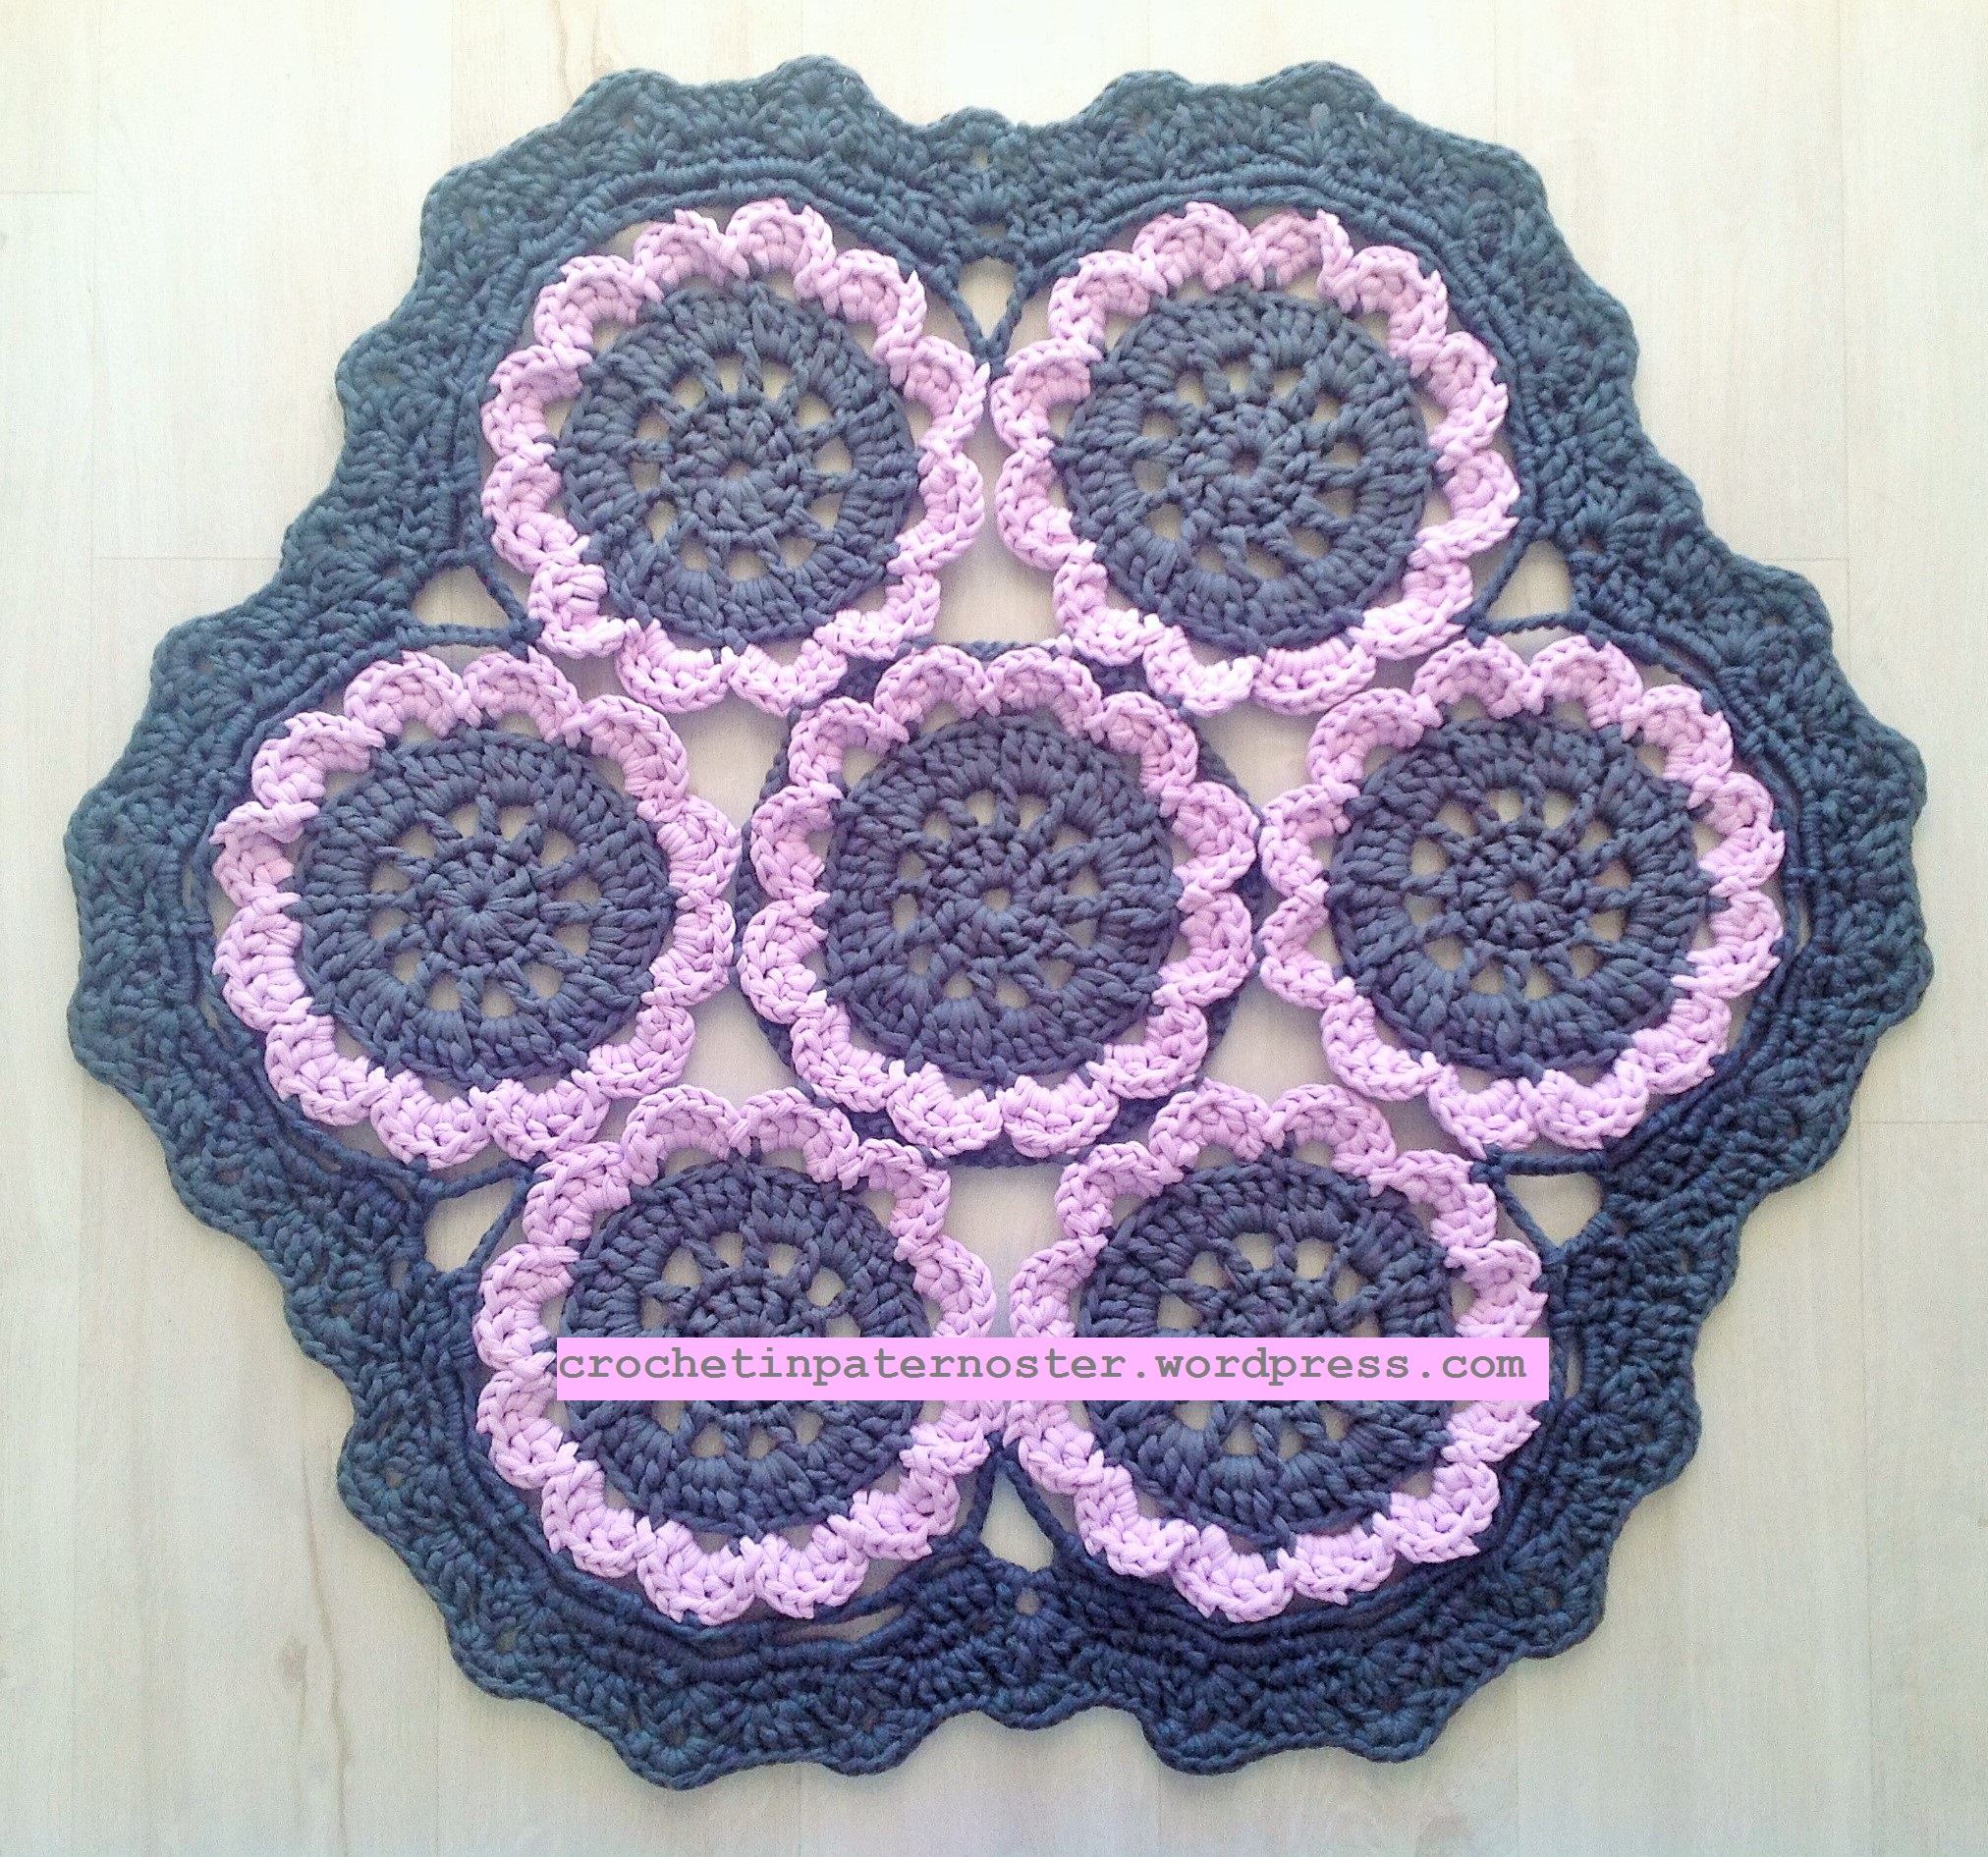
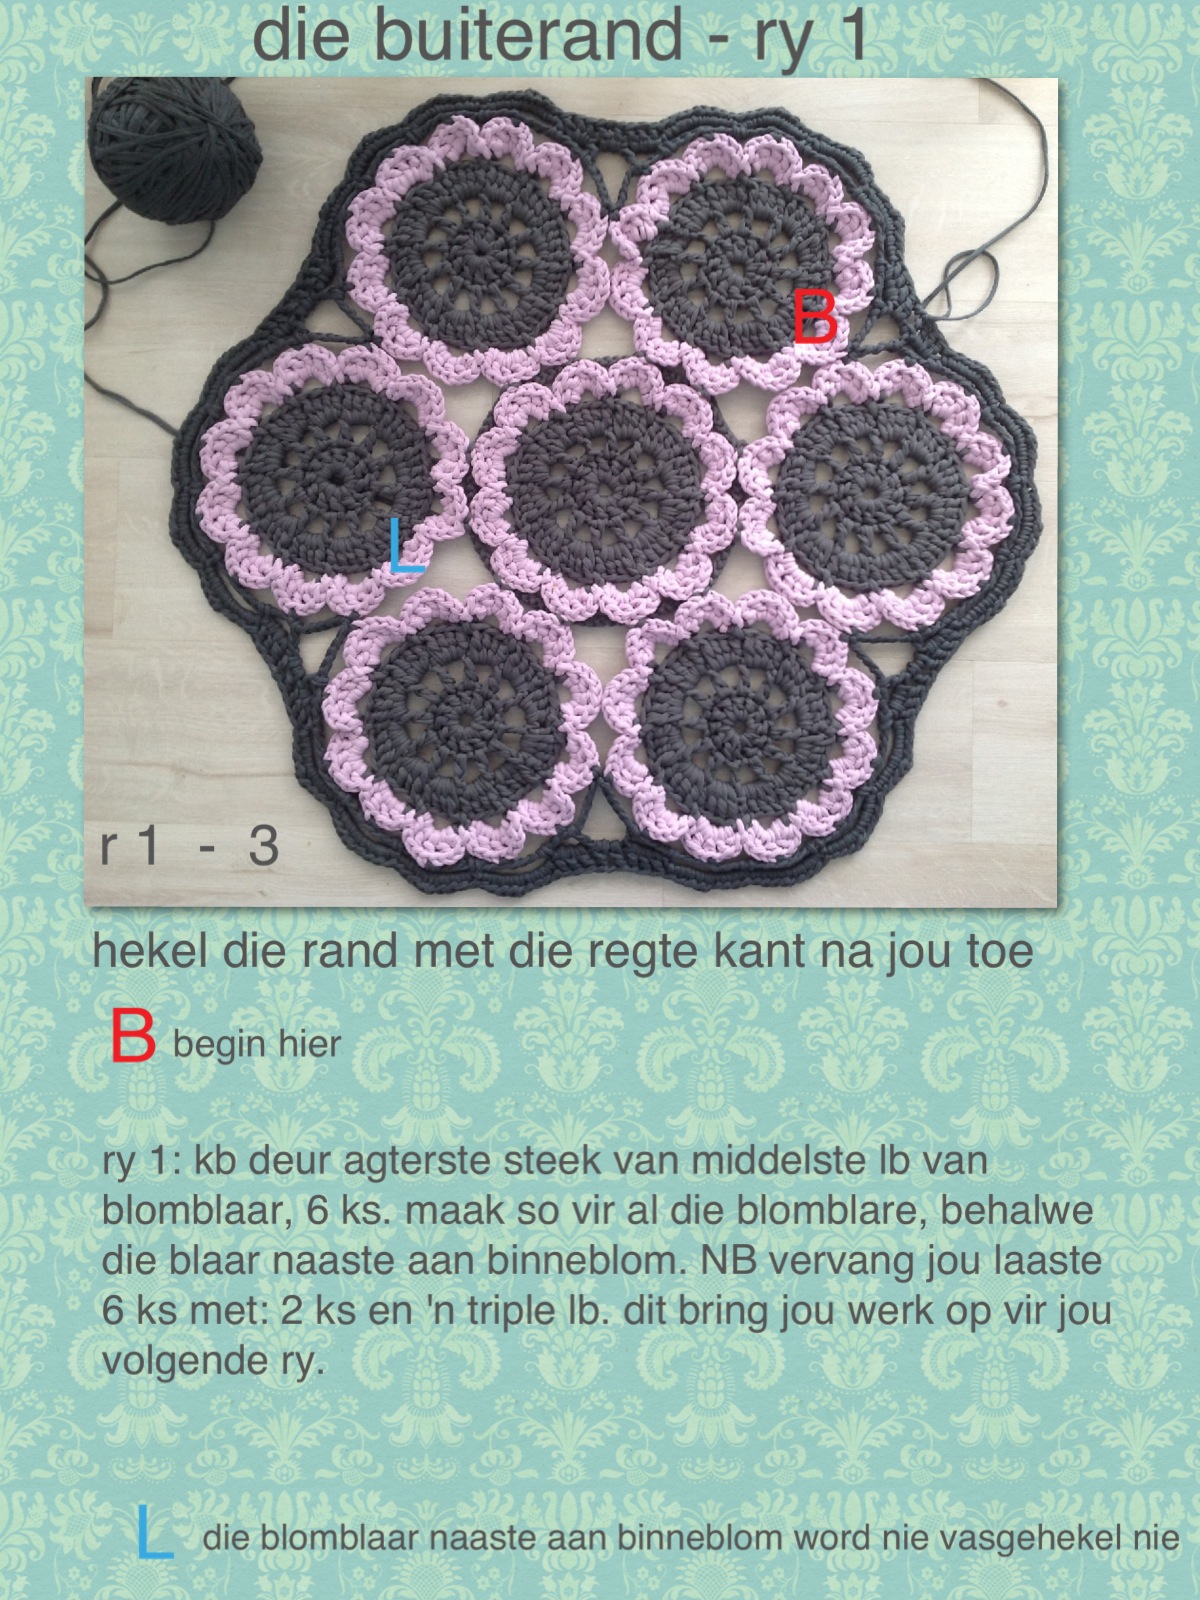
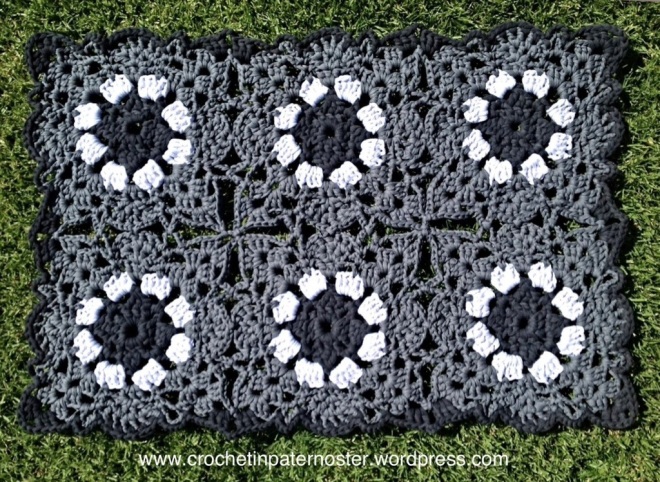
Ek was vreeslik opgewonde toe al 6 blokke mooi aanmekaar gehekel was! So mooi! Maar hy het n nog ietsie gekort. ‘n Randjie dalk? Ja! ‘n Randjie om hom mooi af te rond. Weer ‘n groot soektog. Die rande wat ek altyd om die matte sit wou nie werk nie. Ek het seker 5 verskillende pogings aanghekel waarvan almal te dik/breed was en dan verloor die mat sy lacy look. Na so ‘n dag of twee se dink en kyk het die antwoord gekom! Basies net ‘n herhaling van rondte nommer 6 reg rondom die mat met die charcoal kleur.
I was super excited when I had all the squares joined together. So different from all the granny square rugs I’ve done previously. I loved it! But something was missing. Perhaps a border? So another search and I had a look at all the methods I used for my other rugs. I’ve tried about 5 different versions. Nothing worked. They were all to broad/thick and didn’t look right with the lacy look of the squares. And then, after a day or two of thinking and looking at the rug, the answer came. Simple and easy! Just a sort of a repeat of round 6 right around the squares with the darker charcoal. Perfect. I did not write down what I did their with the border, but I think if you have a close look at it you should be able to figure it out.

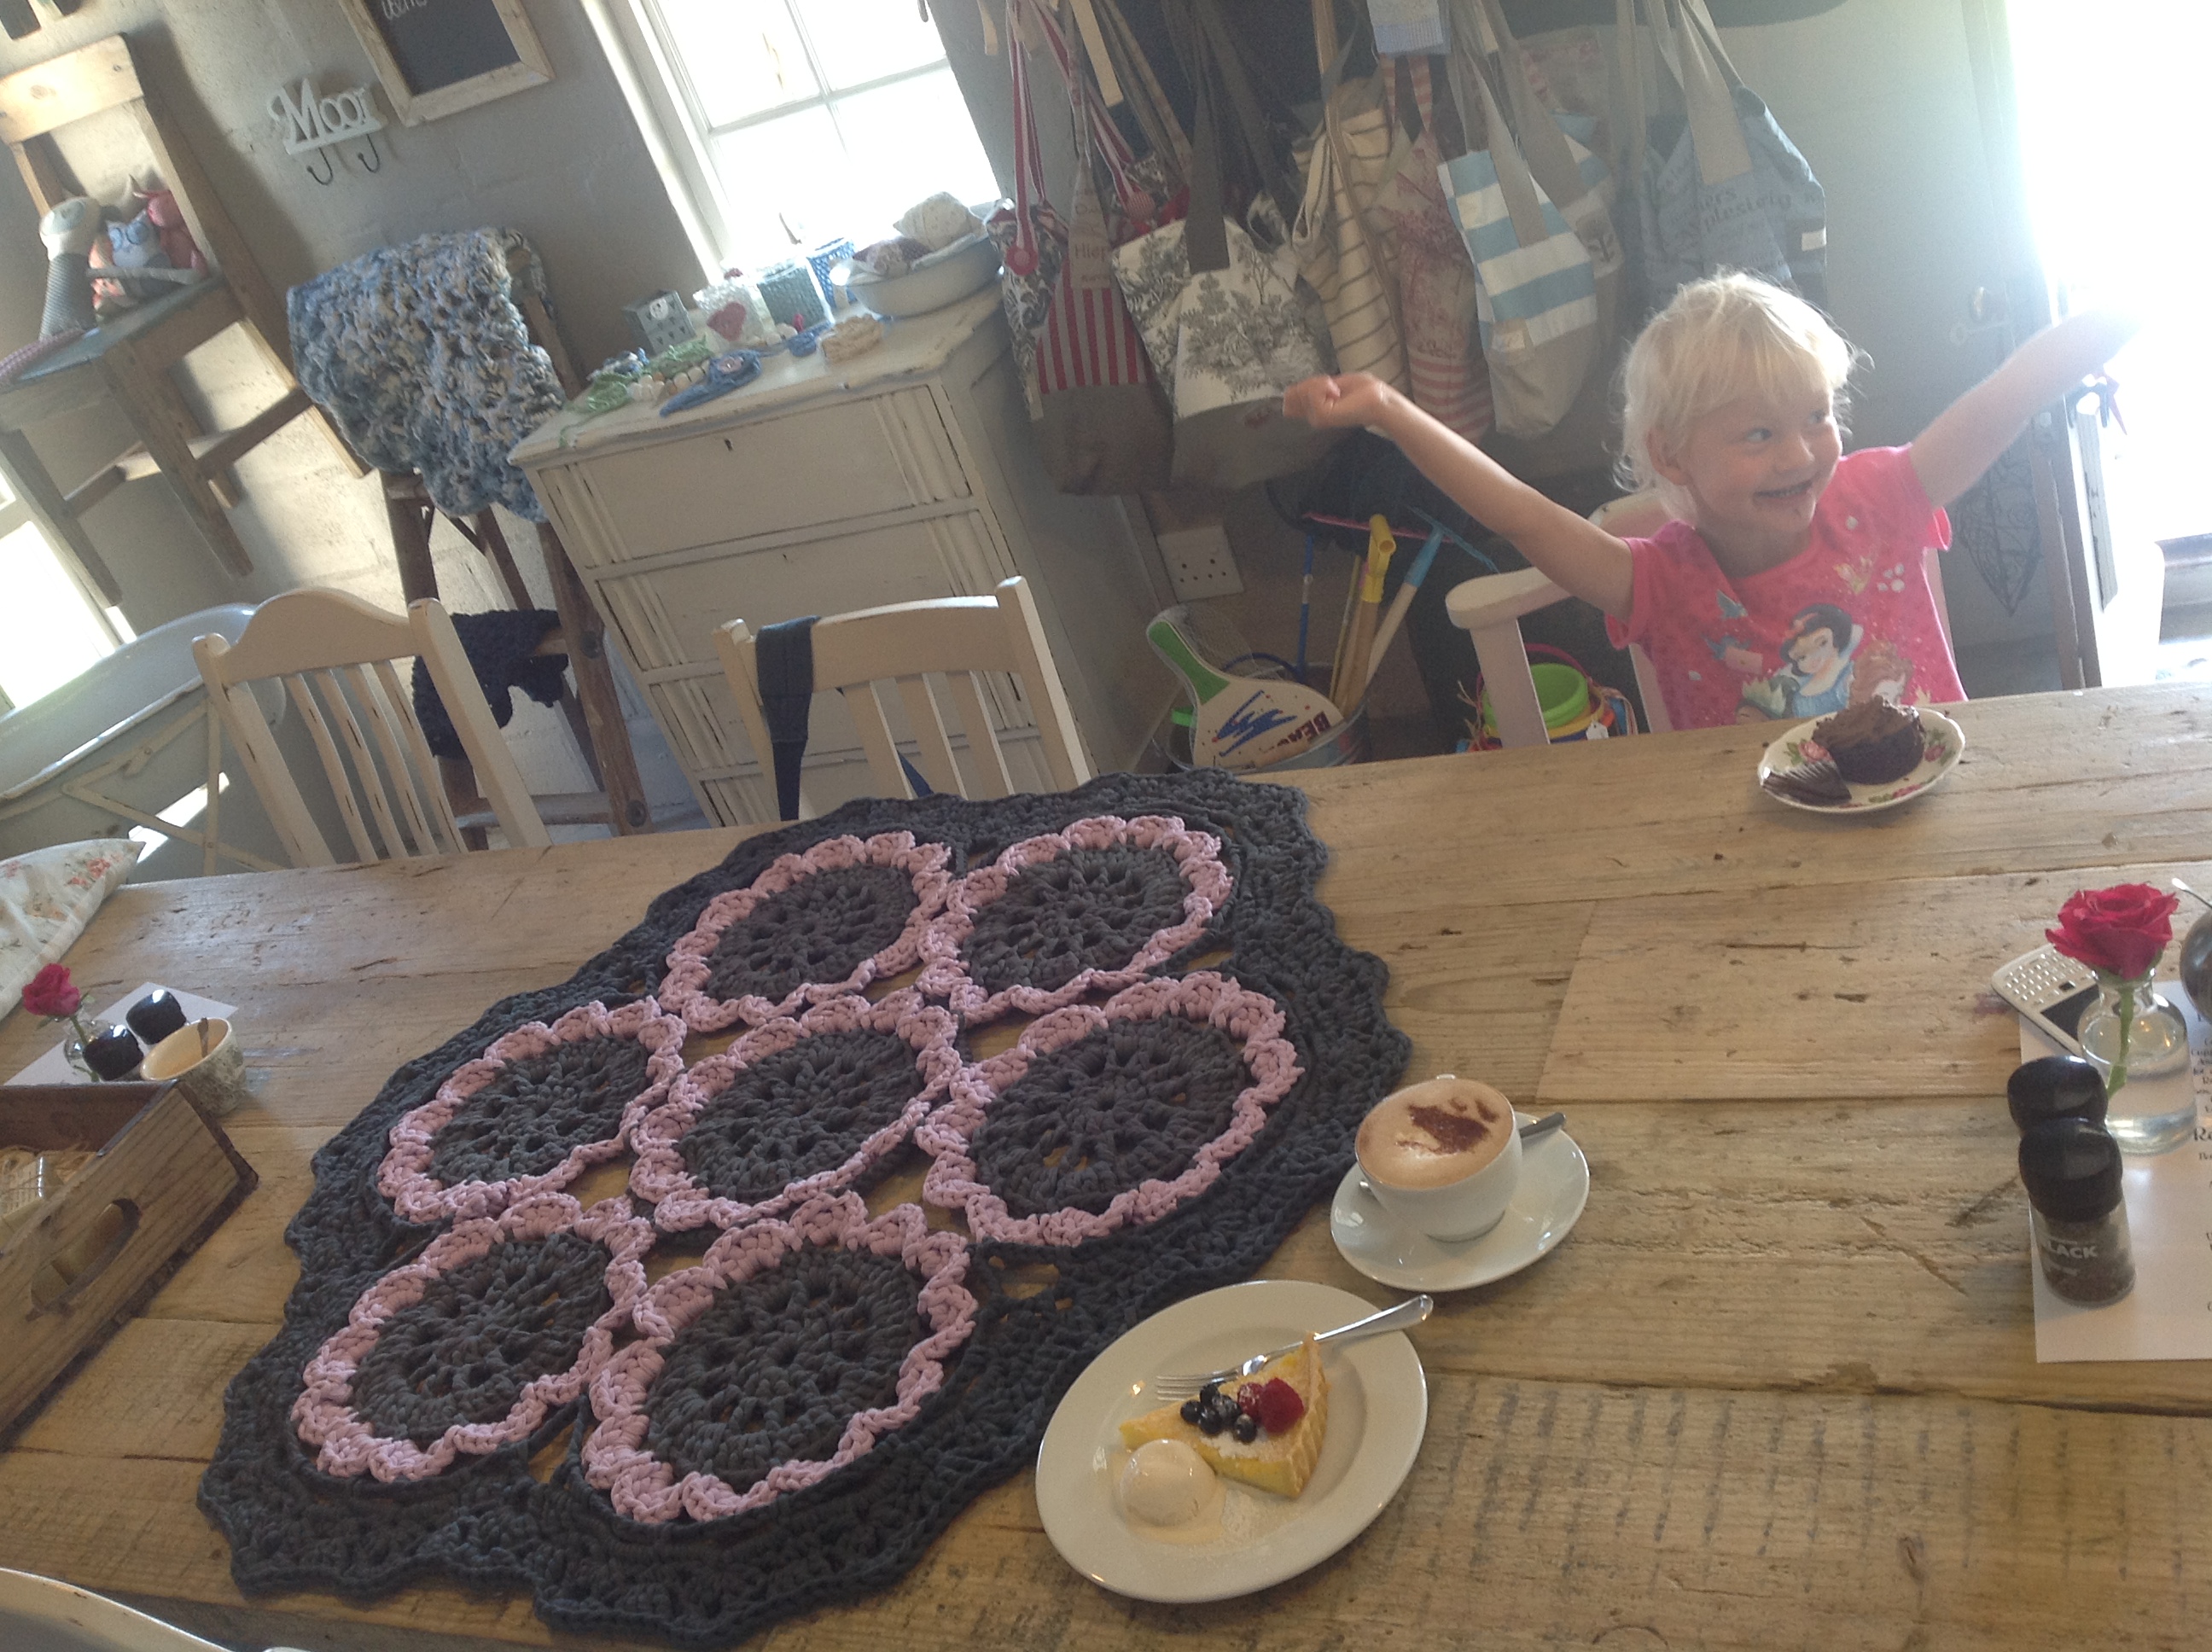
En dan die gewone klaar-met-mat-feesvier met koek en koffie by Mondvol Padstal!
En dan word die matte mooi gewas.
En dan word hulle mooi toegedraai in bubble wrap vir pos.
En dan die afwagting om te hoor of die ontvanger gelukkig is daarmee!
Then the usual rug-completeness-celebration with cake and coffee at Mondvol Farm stall!
Then the rugs go into the washing machine.
Then they get wrapped up in bubble wrap for mailing.
Then the anticipation for feedback from the receiver.
Then, onto the next one!
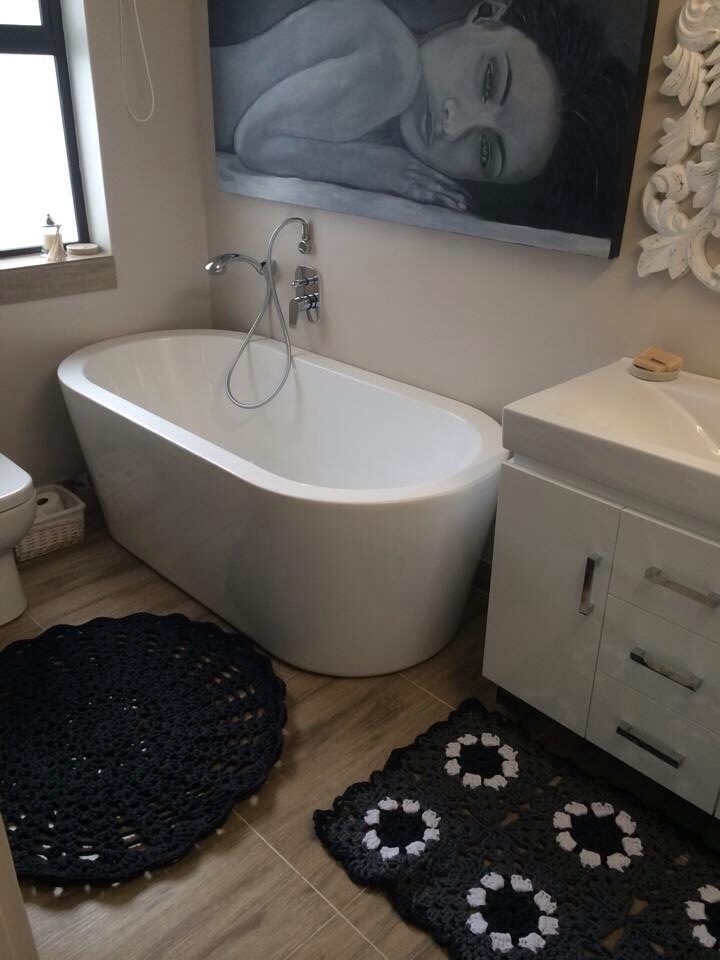
oooh! Just received the photo’s from my client

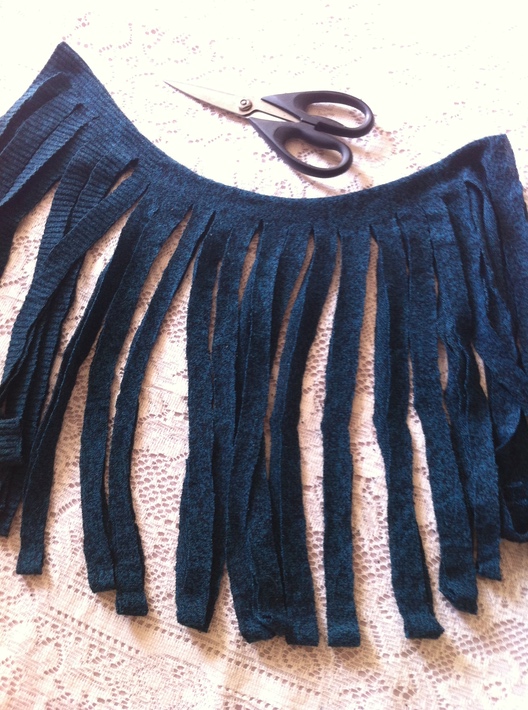
Ek koop my T-shirt wolle by https://www.facebook.com/50swolwinkel?ref=hl
I buy my T-shirt yarn from https://www.facebook.com/50swolwinkel?ref=h
See you soon for some more fabulous rug talk and photo’s !